Not all car owners think about painting a motor, and many do not even realize the possibility of such a manipulation. In fact, engine painting is a type of tuning and carries a number of advantages.
- Purpose and features of painting
- The choice of coloring composition for the engine
- Preparing the engine for painting
- Putty and primer
- Engine sealing process
- Engine coloring
- Valve Cover Painting
- Coloring the plastic engine cover

You can do the coloring with your own hands, however, the process will not be easy and will require some effort.
Purpose and features of painting
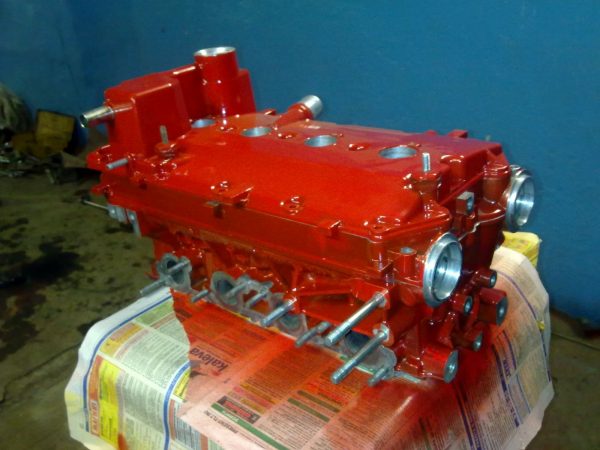
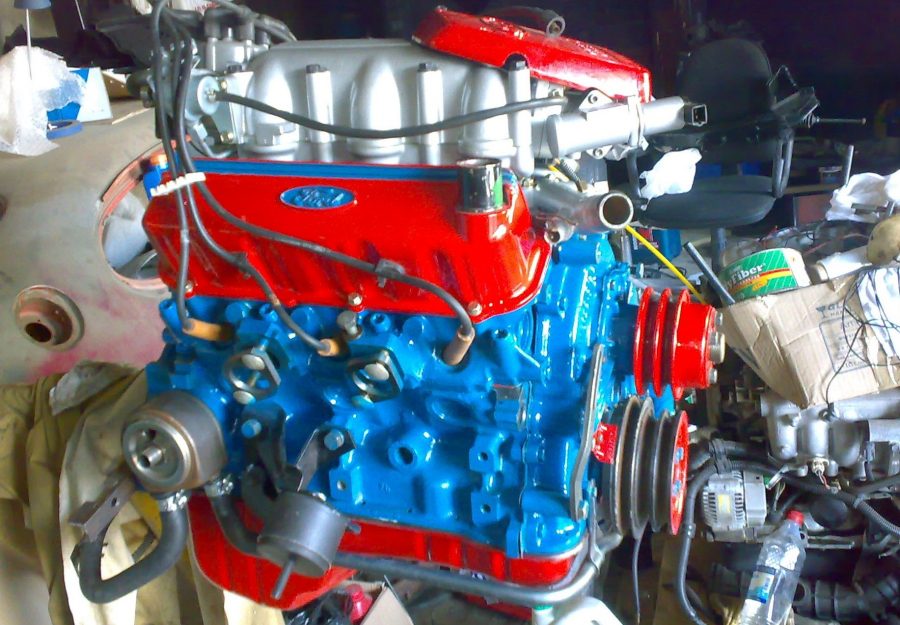
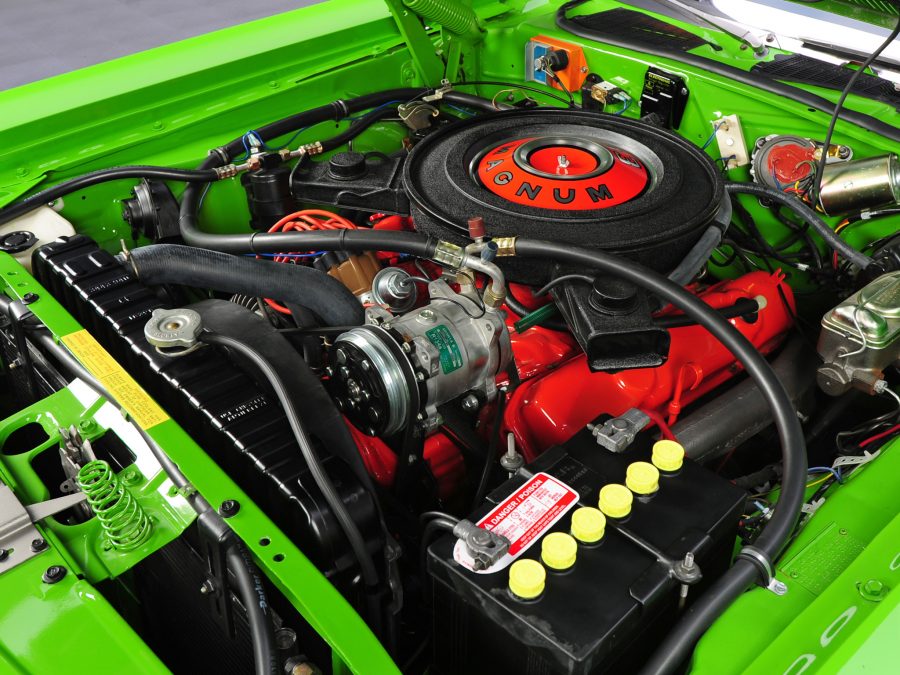
Often, those who want to achieve the external transformation of this part of the car resort to painting the motor. After applying the paint, the entire space under the hood will look stylish, will attract attention and look more well-groomed. A big plus is the staining performed when selling a car - after it you can even slightly increase the price of a car or sell it faster.
Painted engine - a very popular "highlight" among the machines that participate in various shows. In addition, the coloring of the motor carries a practical function. It eliminates incipient corrosion and becomes the prevention of metal rusting in the future, increases the service life of the unit.
Engine painting has a number of features. It is made only after the removal of the element, because otherwise, high-quality application of paint will be impossible. Before painting, it is advisable to overhaul the motor in order to immediately get rid of the existing technical problems. For work, you will have to buy special types of coatings, spray guns or rollers, as well as pre-do thorough surface preparation.
to contents ↑The choice of coloring composition for the engine
To get an excellent result, you need to pay close attention to the choice of paint. First you need to decide on the color, although this is not the only criterion that must be taken into account.
Conventional paintwork is absolutely not suitable for painting the motor, because it can quickly deteriorate when heated and temperature changes. The ideal option is powder paint for the engine, which after application requires curing under heating. Unfortunately, this method is inaccessible for independent practice, so it is mainly used by auto-makers.
The easiest way is to purchase paint in a spray can, making sure that it is sufficiently heat resistant. Such materials are sold in automobile stores and are presented in a wide range of colors. Without fail, paints with high resistance to high temperatures are used to paint the exhaust manifold and cylinder head, which become very hot during driving. For coloring containers with liquids, less durable compositions can be used, including conventional auto enamels.
Do not buy unknown cheap paints - their service life may be short. It is better to give preference to popular brands, many of which produce high-temperature coatings, for example:
- Rust-oleum;
- Duplicolor;
- Krylon;
- VHT etc.
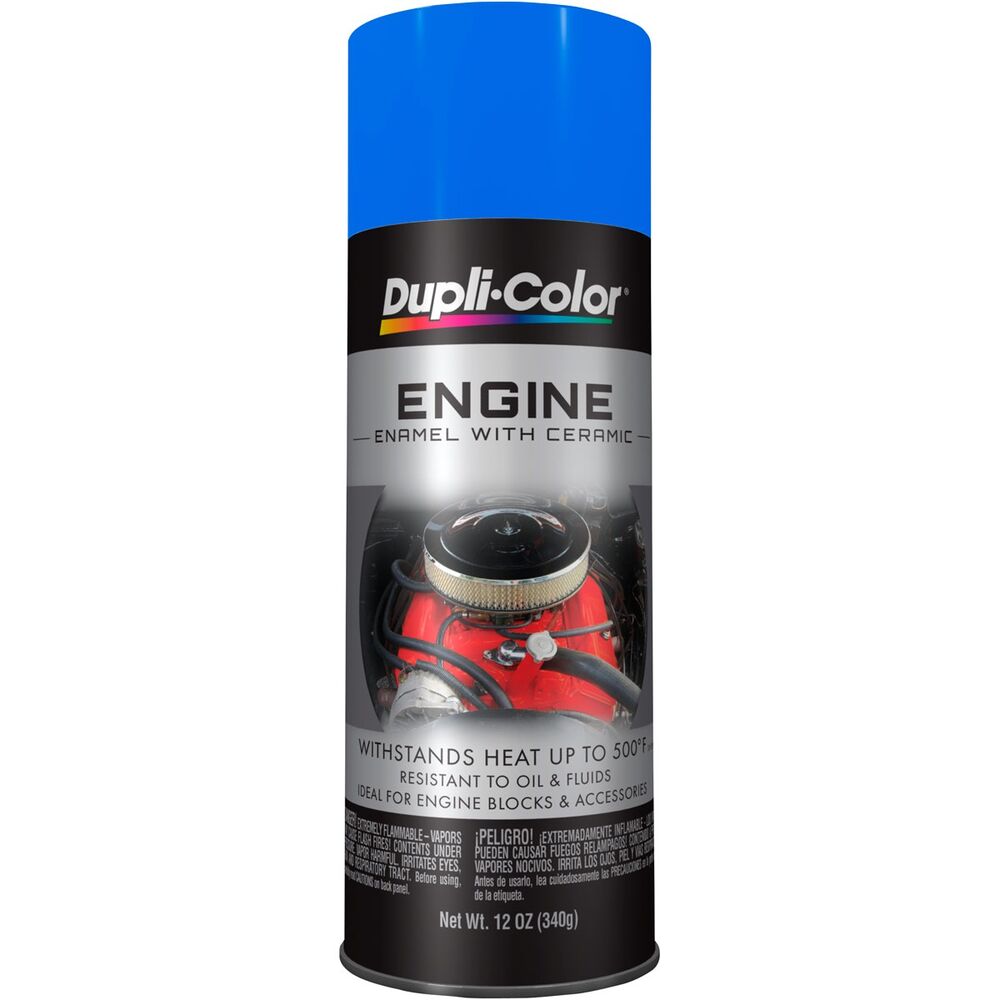
Many brands produce the whole range of heat-resistant products - paints, varnishes, primers.The instructions for use always indicate the maximum operating temperature of the material (usually up to +300 degrees). Any paintwork for the engine should easily withstand the effects of salts, oil products, and also have protective and high decorative properties.
Most often, paints for the engine are made on the basis of epoxy resin, silicone, silicates, or they are multipolymer. Some modern coatings include ceramic particles that provide heat resistance in excess of +1000 degrees. Such materials are ideally suited for very hot engine components.
to contents ↑
Preparing the engine for painting
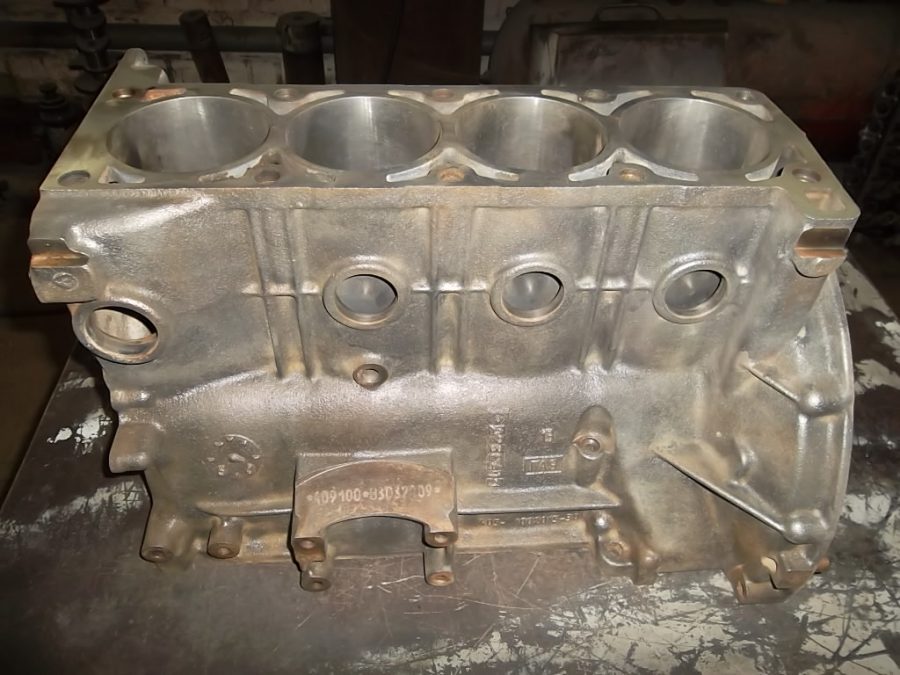
Before painting, you will have to disassemble the engine and remove it from the engine compartment. Beginners are advised to photograph all stages of work and number the cables with spark plugs so that the assembly goes without any problems. Every detail that will be painted, cleaned of dirt, degreased with a solvent, otherwise paintwork will not stay on the surface.
To surely get rid of grease, oil, dirt, you can use sandblasting. With it, all manipulations will be faster, and the quality of preparation of the foundation will increase. If this is not possible, grind places where there is corrosion, with fine sandpaper or with a grinding wheel. Areas of bends and grooves are especially carefully treated.
Folk "craftsmen" use an original way to clean the engine:
- boil water;
- pour washing powder into the water;
- lower the motor into a soap solution;
- let the liquid boil again;
- take out a clean part.
to contents ↑After drying the unit, an epoxy or other heat-resistant primer is applied, although some masters skip this step because of the risk of overheating of the motor in the future. In any case, do not perform more than 1 coat of primer on the main components of the engine.
Putty and primer
If there are defects on the surface of the motor, putty will have to be done. For this purpose, only special formulations sold in construction or automotive stores are suitable. Before work, the basis of the putty mixture is connected to the hardener strictly according to the instructions, put with a spatula to the problem area. If the crack is significant, work in several layers with complete intermediate drying of each layer.
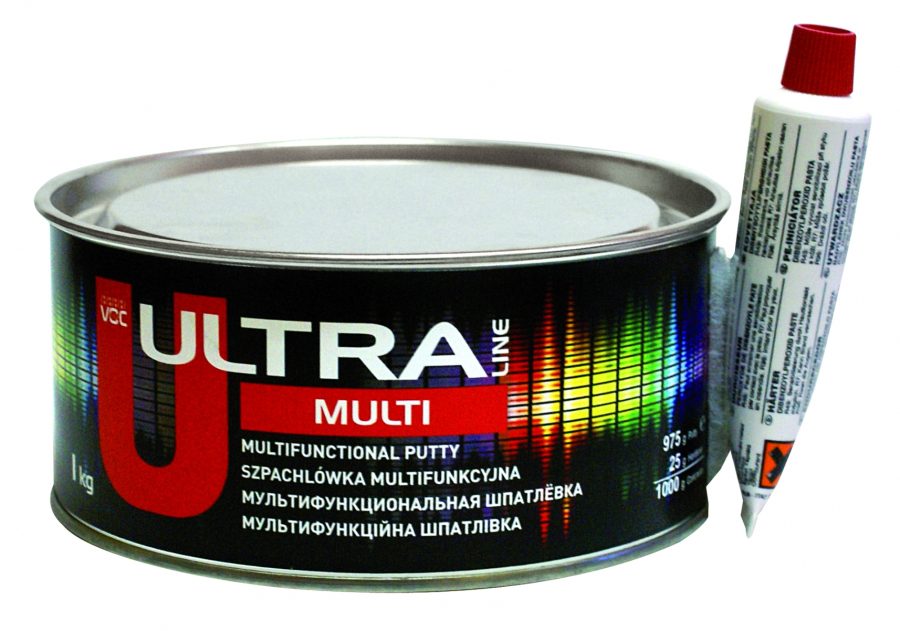
After the final polymerization of the putty, the surface of the site is ground with fine sandpaper or a special grinder. As a result, the problem area should become perfectly flat. It is degreased again and the primer must be applied.
to contents ↑Engine sealing process
So that the paint does not penetrate the internal compartments of the motor, all openings must be carefully sealed. Otherwise, after drying, the paintwork will clog the channels. A simple but not too reliable way is to use masking tape to seal heads, recesses, holes. It is better to tighten all the bolts first, plug the wooden plugs, studs, chopiks or other types of plugs into the holes, and only then glue them with tape on top.
to contents ↑Engine coloring
Painting of the unit is carried out according to such a plan:
- diluting, mixing paint or shaking paintwork in a spray can;
- applying the composition from a balloon, with a roller or with a spray gun;
- drying of the first layer;
- application of subsequent layers (up to 3);
- engine drying.
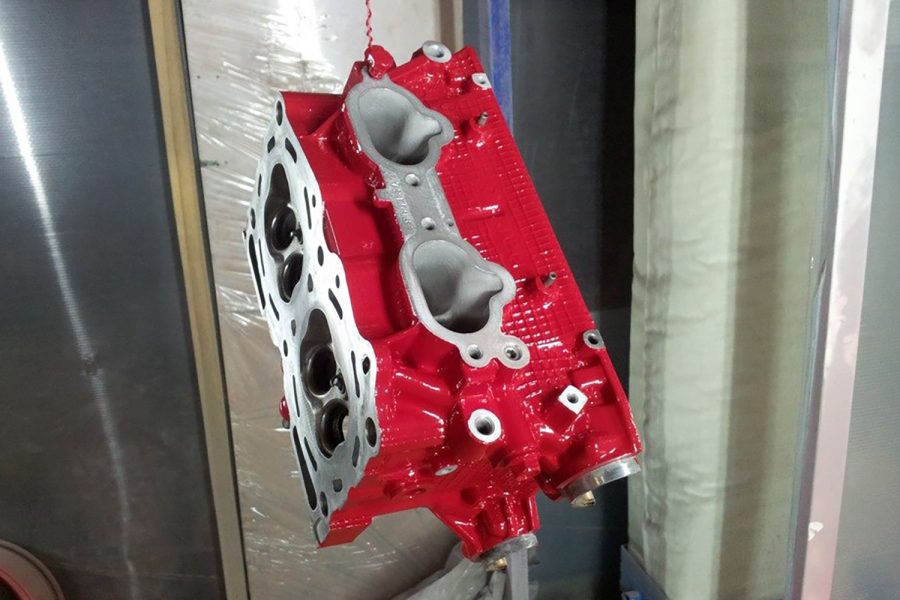
Work with the engine is carried out at a temperature of + 20 ... + 25 degrees, providing good ventilation in the garage. The engine itself must be cool. Each layer of paint is made thin so that the common paint layer does not interfere with the heat from the engine to dissipate. The first layer is the lightest, since its purpose is to create a base for the remaining layers.Intermediate interlayer drying lasts up to 20-30 minutes.
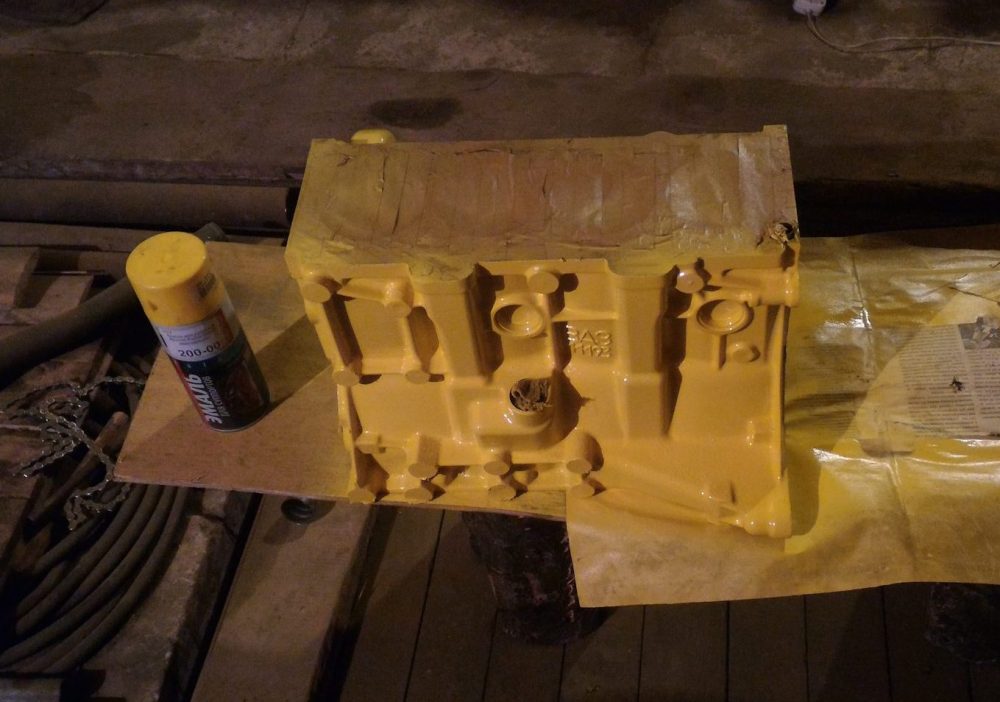
to contents ↑If the paint is applied from a spray can, the latter is kept at a distance of 25-30 cm from the surface. When spraying is carried out at close range, drips may remain on the substrate. After completing the painting, let the engine dry for 24 hours, then install it in the right place, after removing all the plugs and tape.
Valve Cover Painting
Before painting, it is advisable to remove the lid - this will work much more convenient. The spark plug wires are removed, the fasteners are unscrewed, then the valve cover is picked up from one and the second edge and removed. If the sealant layer is still strong, make an effort to remove it. Rubber caps that play the role of a gasket can be removed without any problems.
After removing the cover, the top of the motor is covered with plastic wrap so that paint does not get inside. Put the part on a clean surface, carefully inspect. If the protective coating on the base material is partially worn off, it is rubbed off with a paint remover. Leave the flushing composition for 10 minutes, allow to act, then clean the coating particles with a metal brush. Wash the lid with clean water, allow to dry. All manipulations are carried out in the shade to exclude contact with direct sunlight.

As preparatory measures, the following actions are performed:
- treat the base with red scotch-bright, not missing even the smallest area;
- wipe the lid surface with a solvent or other degreaser to completely remove oil stains;
- cover the primer with a high-temperature epoxy primer in 2 layers with intermediate drying in 15 minutes;
- let the second primer coat dry for half an hour;
- apply paint on 4-5 layers with intermediate drying in 10 minutes;
- if necessary, apply the last layer of varnish.
After the valve cover dries, the sealant layer is restored, the part itself is put in place and screwed. Before returning to the place, the old rubber gasket is cleaned, covered with a thin layer of oil and only then installed. Make sure that the bolts are not overtightened or under tightened, which may interfere with the operation of the part.
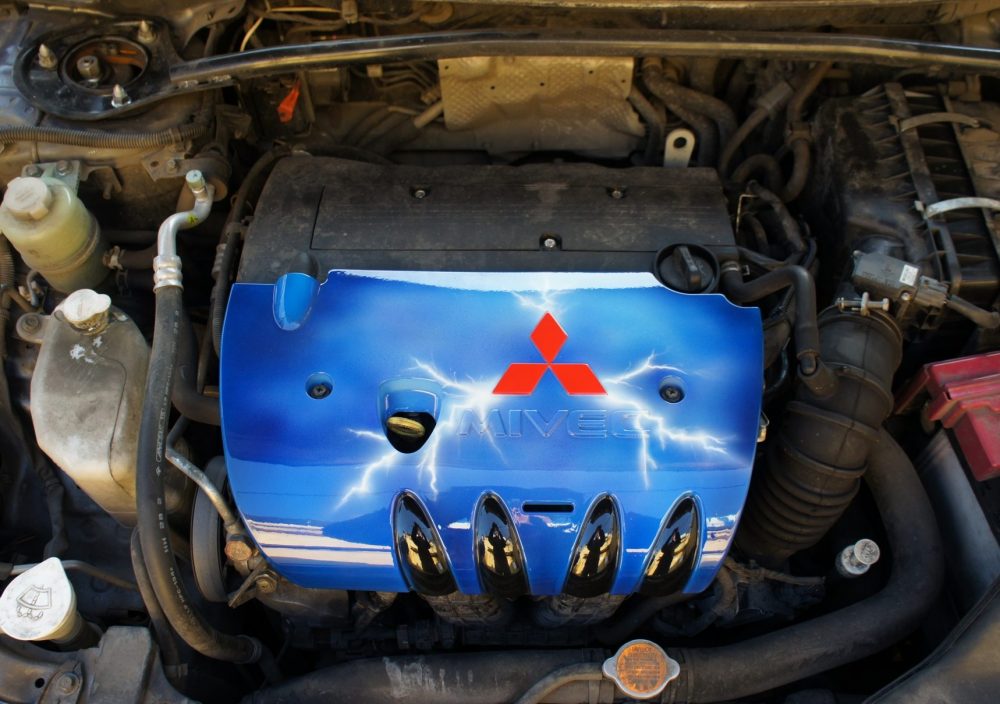
to contents ↑Coloring the plastic engine cover
The engine cover is painted in a similar way, although there are some features in the work being done. The part is removed from the engine before painting, so that manipulations with it are more convenient. Act in this way:
- washed plastic;
- treat the surface with gray adhesive tape;
- allow to dry;
- unpainted areas are covered with masking tape;
- wipe the base with a degreaser;
- apply a special primer for plastic in 1 thin layer;
- after 15 minutes, perform a layer of a conventional automotive primer;
- stain plastic, allow the paint to dry;
- varnish the product.
With a certain skill and careful approach, you can paint the engine with your own hands. It is only important to choose a high-quality paint, so that the applied layer lasts a long time and gives the unit real protection against damage.